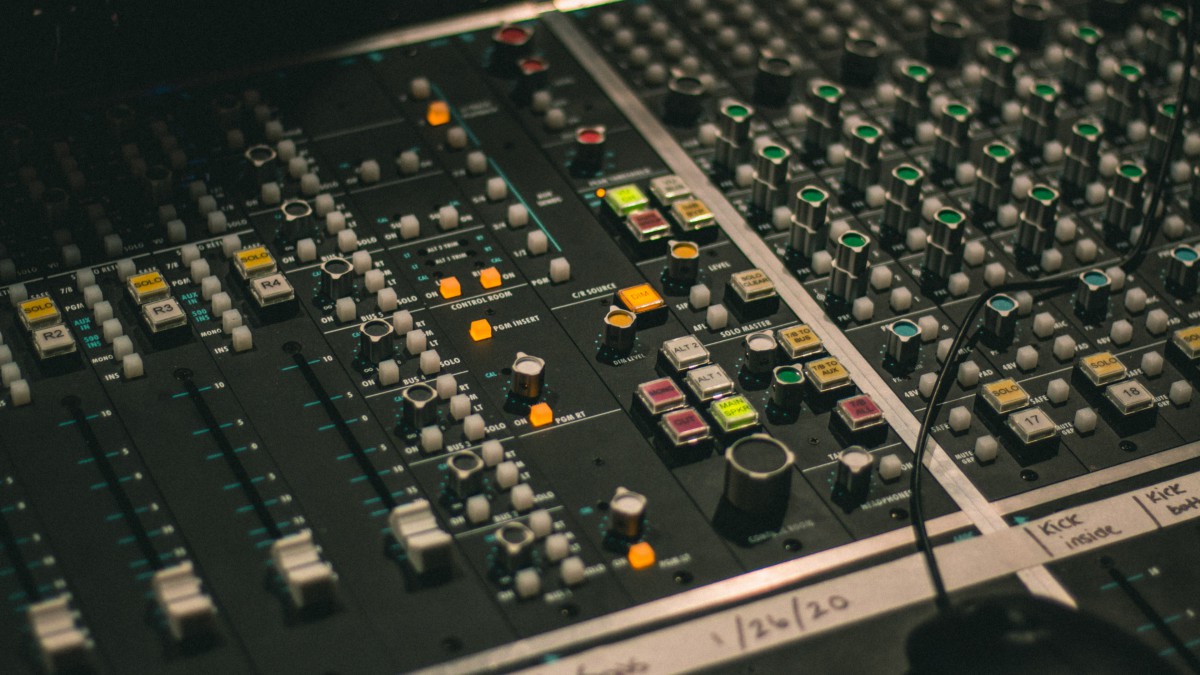
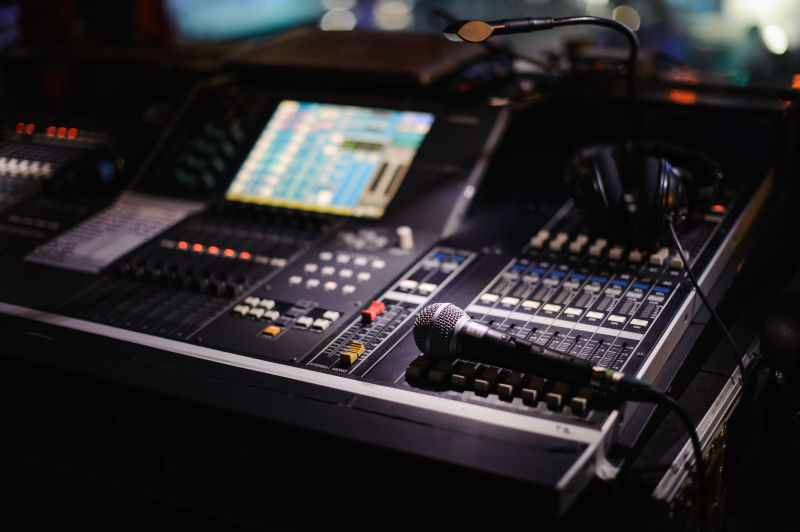
In the process of debugging a sound system, correctly controlling the level of each input channel and output channel of the mixer is the most critical step in debugging a system. Only by doing this step well can the entire system work well. Similarly, Correctly setting the working level of the mixer is half the success of system debugging.

01. Level setting of input channel
Regardless of whether a microphone or other audio source device is connected to the input channel, do not rush to push them up to make them sound; first turn the channel gain (GAIN or TRIM) knob to the minimum, and then press the monitor button of this channel (usually labeled CUE or SOLO or AFL), if this channel is connected to a sound source device such as a CD, put a CD in and play it, then look at the level meter indication and adjust the gain knob so that the level meter indication is generally around 0 decibels, and the maximum value should not exceed 6 decibels, then try a few different CDs and fine-tune it. It’s adjusted.
If a microphone is connected and the monitor button is pressed, hold the microphone and shout with a louder voice. While shouting, adjust the gain knob while looking at the level meter. When shouting to the maximum volume, adjust the level indicator to 0 -6 decibels is basically fine. The adjustment of the high, mid and low balance knobs of the mixer input channel will affect the input level. If you adjust the mixer balance during later debugging, you need to turn back and press the monitor button to check the level changes. Then adjust the gain knob to get the level to the correct position. If the input level is too large, it will easily cause signal clipping and distortion; if it is too small, the signal-to-noise ratio will decrease.
02. Auxiliary channel level setting
Generally, the auxiliary channel (AUX) is used to connect peripheral devices such as effectors. This loop has 4 places where the level needs to be adjusted:
First, the AUX output level of the mixer input channel. This adjusts the output level from the single AUX output to the AUX bus. It does not have a separate level indication. Generally speaking, the knob can be set between 12 o’clock and 2 o’clock based on experience. point location.
Second, the level setting of the AUX output bus. This is the level output by the AUX channel to peripheral devices. You can press the monitoring button corresponding to the AUX bus (master control) and observe the level meter indication when the microphone is in normal use. Adjust the AUX master output knob to set the level around 0 dB.
Note that if the AUX output is selected as post-fader (POST), the output level will change with the change of the fader size and the number of microphones used. The more microphones used when turning on the AUX knob, the superimposed The more there are, check them at any time according to the changes in the number of faders and microphones during use.
Third, check the input level of the peripheral equipment connected to the AUX output. Some effectors have input level displays. Under normal working conditions, observe the output level meter or level indicator of the effector and adjust the input of the effector. Level knob (INPUT GAIN or INPUT LEVEL), so that the input level indicator of the effector lights up at 0 dB or the green light.
Why do you need to adjust the input level of the effector after setting the AUX output level of the mixer? This is because the input and output impedances of different devices do not necessarily match completely. Through their respective level controls, they can reach the correct level. Flat match.
The fourth is the level of the effector output to the return channel of the mixer. First, set the output level of the effector at 0 dB, and then refer to the previously mentioned mixing console input channel level setting method to return the effector to the channel. The input level is set around 0 dB. In this way, the level of the AUX auxiliary signal channel is set.

03. Input channel fader level
There are no certain rules for setting the input channel fader level. After the input channel input level is set, the fader position is controlled according to the requirements of the part balance. The reference position is around 0 dB. If you feel that the sound of a certain channel It’s relatively small. My habit is not to push the fader of this channel up in a hurry, but to pull the faders of other channels down a little and then push the overall volume fader up a little. The purpose of this is not to push the level of a channel so high that it becomes susceptible to distortion.
04. Overall output or group output level
After all used channels enter working status, control the total output level to not exceed the level meter + 6 decibels. What needs to be noted here is that it is not necessary to push the master fader to the 0 decibel position, but to control it according to the sound pressure output by the system. For example, if it is pushed to -5 decibels, the volume in the venue will be enough, and you can There is no need to push it to the 0 dB indication. Another important point is that if you push it to +6 decibels and the volume in the venue is not enough, then don’t continue pushing it. You should check whether your system is a little small and has insufficient capacity.
When the system capacity is insufficient, it is very dangerous to increase the output of the mixer in order to increase the sound pressure. It is easy for the mixer to output excessively large signals containing clipping distortion components and enter the downstream equipment, causing damage to the speakers.
In addition, if the group output is also superimposed on the main output, changing the fader level of the group output will also change the overall output level. At the same time, the more groups are superimposed on the main output, the main output level will also change. The bigger it is, this also requires constant observation when using it.
The mixer is not a device that stays put once it is adjusted. It needs to be adjusted accordingly at any time according to the situation on site to produce the best results.
05. Setting the recording level when passing through the mixer
First, the issue of mixer level
As the initial equipment for signal input, the mixer should be as high as possible without overloading the level. To do this, first adjust the gain level of the signal input track on the mixer, and select the section with the highest input signal strength as a test, so that the peak value of the input level is close to but does not exceed 0db. Then there is the adjustment of the output level. Due to the adjustment of the input level, the output level attenuator (that is, the fader of the signal input track) can be kept at the 0 position of the scale (note! 0 is not the lowest, but to keep the output level consistent with the input level. .The lowest is -oo, negative infinity).
Second, the level relationship between the mixer and the computer sound card or multi-track machine
If it is a multi-track machine, there is no need to worry, because the levels of each track have been adjusted by the manufacturer. Or if the digital mixer and the digital multi-track machine are linked by ADAT or T-DIF, then there is no need to worry about the volume problem, it must be consistent with the mixer. Then, what you need to pay attention to is the link between the mixer and the computer sound card.
First of all, if the digital mixer is connected to the ADAT, SPDIF and other digital interfaces of the sound card, there is no need for adjustment, and the transmission of digital signals will definitely maintain the original level. The most important thing to pay attention to is the connection between the analog interface of the mixer and the analog interface of the sound card.
If the analog interface of the digital mixer is connected to the analog interface of the sound card, the level reading on the mixer needs to be consistent with the level reading of the sound card. That is to say, when testing with standard 1khz, when the digital mixer When the output level reading of the console is 0db, the input level reading of the recording software in the computer should also be 0db; if the analog interface of the analog mixer is connected to the analog interface of the computer’s sound card, then the following adjustments are required. Use an analog mixer to send out a 1khz signal and adjust its output level to 0db. At this time, the input level reading of the recording software in the computer should be -18db or -14db, otherwise level overload may occur condition.

