
Building your own subwoofer box yourself is the best way to achieve your ideal look and optimal fit without breaking the bank. All you need is a few basic tools, necessary hardware, and required materials.
Here are the tools needed to make a speaker cabinet and their uses: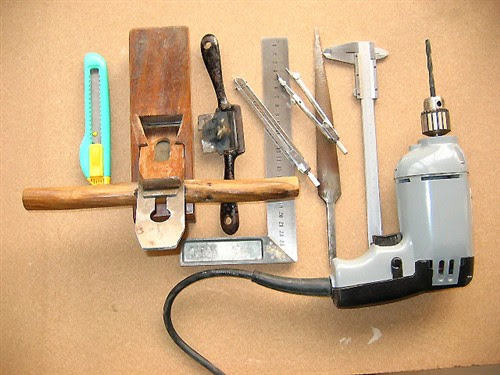
Electric saw : Used to cut wood boards, ensuring smooth and precise cuts.
Electric drill: Used to pre-drill holes for screws or other connections.
Hand Saw: Used when power tools are not available or manual cutting is required.
Ruler and Measuring Tool: Used to measure and mark the size and location of boards.
Pencil or marking tool: Used to mark the board to guide the cutting and assembly process.
Carpentry Clamps: Used to secure wooden boards and keep stable while gluing or tightening screws.
Sandpaper or grinding wheel: Used to sand down the cut edges to make them smooth and flat.
Woodworking glue: Used to glue wooden boards together to ensure a strong connection.
Silicone Caulk: Used to fill and seal joints inside cabinets to prevent gas or sound leaks.
Square Angle: Used to check and ensure that boards are cut at accurate angles.
Now that you know the tools you need, it’s time to look at the specific steps to create one. The following are its complete production steps.
Cutting wood board
use a table saw or circular saw to measure and cut the MDF boards that will become the main components of the subwoofer box, including the front, sides, back, and top. It is recommended to ensure that the cuts are smooth and square to promote a good seal of the box. A total of seven panels need to be cut: the top and bottom, the side panels, the back panel, and two identical front panels (because you are going to make a double thickness).
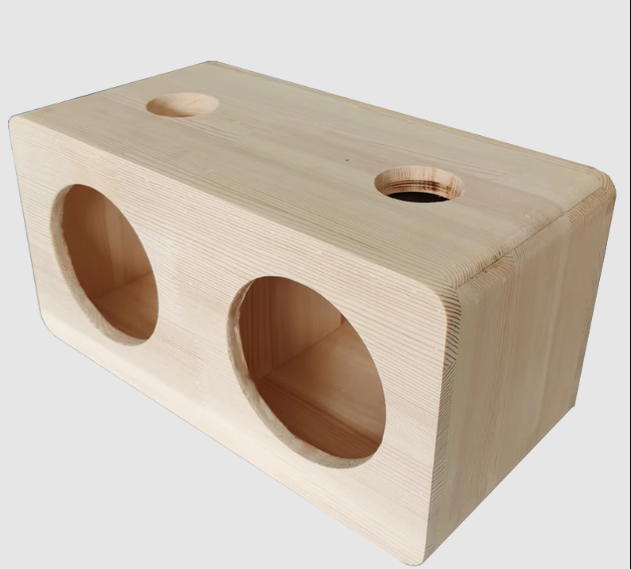
Draw circles
Mark the woofer cutout locations on one of the same front pieces.
Prepare the front board
Use a lot of carpenter’s glue and a few sheet metal screws to secure the two identical front panels together. This double thickness not only helps to strengthen the entire cabinet, but also improves its structural stability. Before installing the top and bottom panels, glue these slats to at least two interior seams of the box with carpenter’s glue and tighten with screws to ensure a secure connection.
Assemble the box
Apply a layer of carpenter’s glue to the edge of the panel and press it against the connecting panel. Use wood clamps to hold the panels together until the screws are installed.
Cutting speaker openings
Use an electric drill to drill holes in pre-marked circular locations, then use a jig saw to cut along the circle. Once you’re done cutting, give the edges a quick sandpaper and the woofer opening is complete.
Test installation of speakers
Place the subwoofer into the cabinet and make sure it is positioned appropriately. If you find that the subwoofer is too tight, you can use coarse sandpaper or a file to adjust the opening.
Sealed inside the box
Apply a layer of silicone caulk to all internal seals of the box to ensure everything is completely sealed and there are no air leaks.
Install the subwoofer
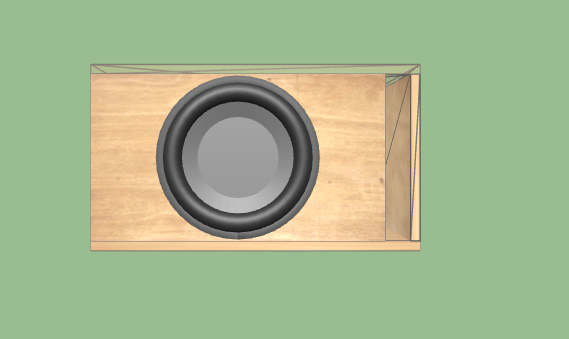
Pre-drill the holes before installing the screws. Then, place the subwoofer back into the box and tighten the screws. Be sure to do this carefully to avoid the drill bit slipping off the screws and damaging the subwoofer.
At this point, a subwoofer speaker is completed. You can use it to start your auditory feast.