
Traditional ceiling speaker installation method
Most of the ceiling speakers currently on the market follow the traditional installation method, which is to tighten them with screws and fix them with claws.
First, install the speaker opening size and cut a hole in the ceiling. Most ceiling speakers will come with a hole template in the box. You can stick it on the ceiling first and then cut according to it.
It is generally recommended to add a layer of European pine board to the ceiling gypsum board for reinforcement to avoid resonance and aggravation of sound staining.
After opening the holes, connect the wires. There are red and black binding posts on the speaker. Generally, red is connected to the positive pole and black is connected to the negative pole.
Then insert the speaker into the hole, find the screws under several claws, use a screwdriver to turn it counterclockwise first, then tighten it clockwise, and then cover the grille, and you’re done.
Friends who have done the installation should know that it is quite laborious, mainly because holding up the head and tightening the screws makes the hands tired. After installing the four Atmos sky channel speakers, the cervical spondylosis is almost cured.
So is there a simpler and elegant installation method?
Of course there is. As the saying goes, if there is demand, there is a market.
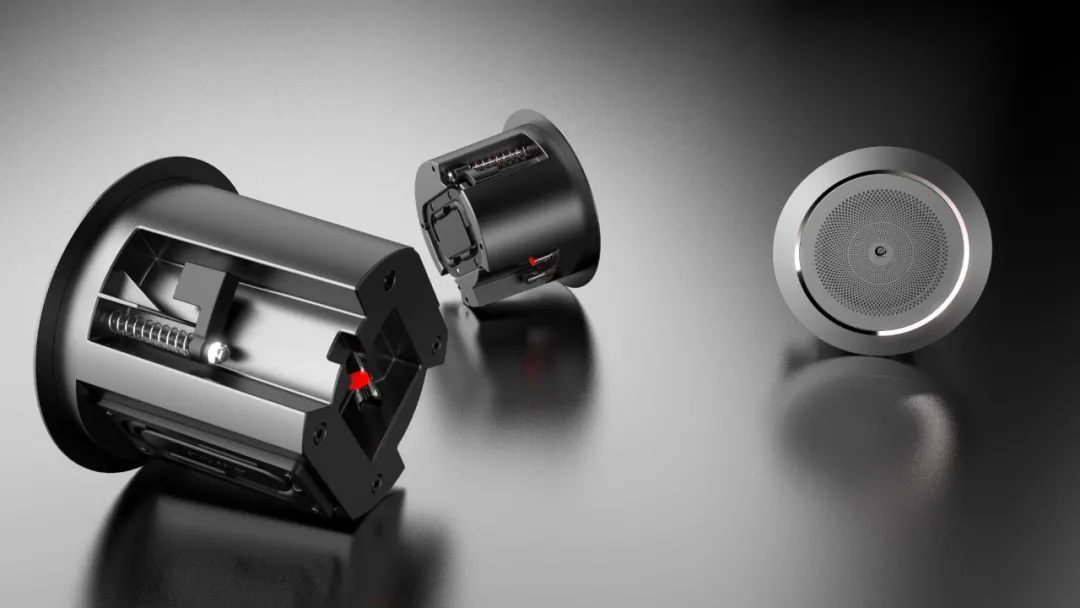
The installation process of Dynaudio’s ceiling-mounted custom installation series is very simple and convenient. The pre-installed frame adopts Dynaudio’s patent-pending panel lock, which can be installed manually without any tools.
The ceiling-mounted speaker has a bold industrial design. The speaker is designed with an 18-degree inclination angle to the central axis and can rotate 360 degrees around the axis in the bracket. The owner can accurately adjust the sound radiation direction of the speaker according to their own needs, together with the acoustic design. , to ensure that the room has sufficient sound pressure level, there is no need to adjust the room layout, just rotate the speaker to the right position, and you can enjoy the pleasure that music brings to you.
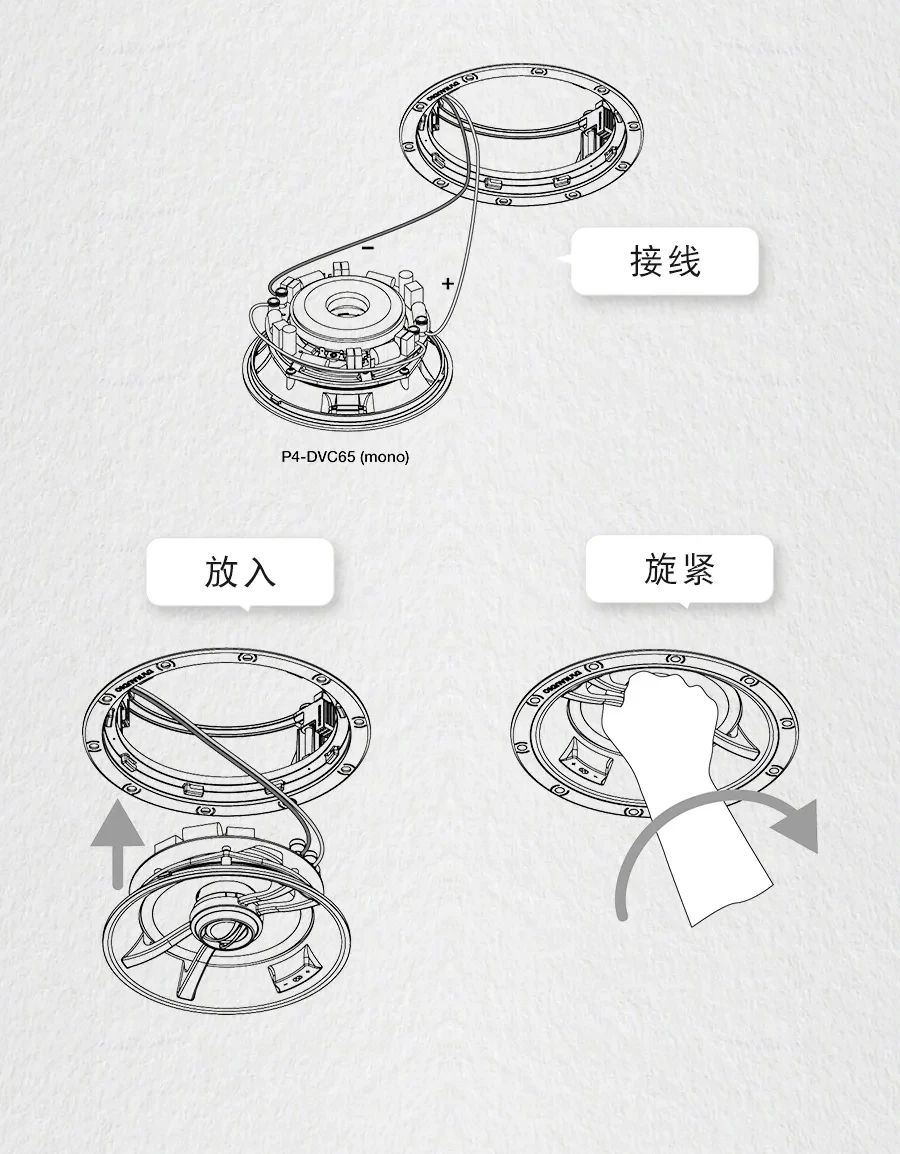
The Performance Series successfully achieves quick installation. With a frame base that can be pre-installed, the installation of the loudspeaker only requires the three steps of wiring, inserting and tightening:
The remaining steps are only three steps: rotation, removal and suture removal:
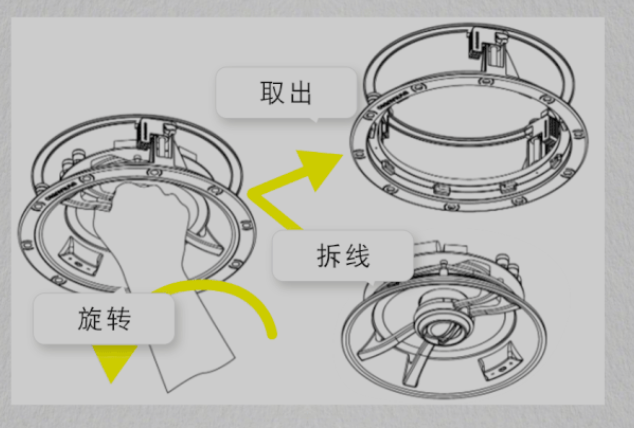
Really realize the easy twist and you’re done.
I think the design of Dynaudio and other manufacturers is really great. I hope other manufacturers can also learn from it and make speaker installation easier.